Today we are going to learn how to make a DIY Meditation Jar at home! A meditation jar is like a snow-globe but with glitter and intended to bridge the gap between your busy life and having a proper meditation experience. Time is a very fickle mistress in our lives and seems to escape us when we need her most. Can you relate?
So! This DIY meditation jar will give you a calming and simple meditation tool to give you an easy-to-make option to escape for a moment in your busy day and maintain a consistent and daily meditation discipline. It´s also a great tool to help with getting children involved with meditation!
Items You May Desire to Acquire:
- A glass jar or other watertight container with lid – Mason jars work great!
- Hot water
- Glycerin – Like this kind, we would recommend. Glycerin will cause the glitter to settle more slowly to the bottom.
- Dish Soap
- A whisk or some other form of stirring equipment
- Glitter! – To be eco-friendly we recommend bio-degradable glitter that is sourced from sustainable materials like this one with all sorts of colors to choose from!
- Other fun things – This part is where you personalize it to you. You can put food coloring into the water. Put in beads or old toys. For your child´s meditation jar; they may want their legos or other toys to be placed in the jar! Just make sure they are aware that it’s not coming back out 😉
- Optional: Superglue – To seal your lid onto container if it is not already watertight
In place of glycerin, you may choose to use glue instead, like Elmer´s Glitter Glue for the same effect. The thing with Elmer´s glue is that it is based on the usage of synthetic chemicals and we don´t really know where they source the elements from to create it. The glycerin that we are recommending is sourced from vegetables. Pretty straightforward.
(Then we just need to keep focused on sustainable farming practices! – But that´s certainly another story.)
In addition to these items for the meditation jar, it is also important to create and maintain a positive, dedicated meditation space. You can check out all the Useful Gear for meditation to begin piecing together your meditation room.
Putting It All Together
Now we are going to make your jar! It´s pretty easy to put together, it´s kind of like blending a smoothie but without the ninja blade action. You can get ahold of a healthy smoothie recipe if you dig into our Spiritual Meditation article. Just open the article and hold Ctrl+F or Command+F on a Mac and type smoothie to jump to it!
Now, back to our jars.
Here you can watch the steps I´m about to break down with you in video form:
Step 1: Some Hot Water
Here you will add some hot water. It is best to microwave it to boiling temperature and then you will be adding more water later, which will again be boiled. Fill your container about 1/4th of the way with your boiling hot water.
If you choose a plastic container then perhaps keep the water under boiling. The extreme heal will warp the plastic. Although, that can make a cool effect too!
Step 2: Add Your Glycerin/Glue
Now you will add your Glycerin or Glue. You will add more depending on your preference. The more glycerin/glue that you have in your jar the longer it will take for the glitter to settle to the bottom. You might consider filling 1/8th of the container up to 1/3rd whereas 1/8th of the container would settle back to normal faster than filling 1/3rd of the container.
Step 3: Stirrrr
Now, take the handy stirring equipment you have chosen and simply stir the mixture until it has an even consistency.
Step 4: Food Coloring …And Dish Soap!
Here you will start by adding a few drops of food coloring (mix different colors, too!) if you want. Stir it in until it reaches the color that you desire. You will only need to add a drop or two of dish soap. It is just to keep the glitter from clumping together and floating at the top.
So! Add your drops of dish soap and then continue adding food coloring until you reach the color you want. You really shouldn´t need more than a few drops of food coloring either, depending on the size of your container.
Step 5: Glitter!
Now we want to add the glitter. You´ll want maybe half of an inch to an inch of glitter at the bottom of your jar when it is settled. If you have a larger jar, like a half-gallon mason jar then I might fill it up to an inch. You can add a variety of colors and shapes of glitter to create whatever effect you are looking for.
Also! If you or your child have other artifacts or things that you want to have in your jar then now is the time to add them!
Step 6: More Hot Water
Here you will fill your container the rest of the way with hot water. I would recommend leaving about an inch of space at the top of the container. This allows you to add more glitter or glycerin or food coloring if you wish. Screw on the lid and shake it up. Once you watch how it settles you will be able to see if you want to tweak it by adding more of one element or another.
If you do not wish to add anything more to your jar then you can simply fill it to the rim with hot water.
Step 7: Screw on the Cap Tight
At this point, you have the option to use superglue around the rim of your container. Then you will screw on the cap to your container. The superglue will ensure that the cap is watertight, but it is not necessary to do if you already have a watertight container.
Step 8: Enjoy!
Ya, you just shake it up and watch it settle. It´s pretty neat. We´ll talk about why it’s neat and how to teach your children to use your new jars for a meditative purpose!
I Don´t Get It …I mean… My Kid Doesn´t Get It.
Well, the purpose of the meditation jar is to provide an aesthetically pleasing effect that you can entirely focus on. It is similar to the meditation practice Trataka. In Trataka meditation, you focus solely on the flame of a candle with your eyes open and meditate on just watching the flame burn.
The meditation jar essentially works the same way but is much faster than waiting for an entire candle to burn down in a single practice session. You shake up the jar and allow yourself to get lost in allowing the glitter to settle back down. You may teach your child that the jar is like our minds. And when things around us become crazy and we are maybe feeling a little crazy that we just go and shake this jar up!
As we watch the glitter settle back to the bottom we tell our children to stay aware of our thoughts. Just acknowledge them but do not react and watch the glitter settle. Back to its calm. And you will notice your mind also calm down. Less frantic and agitated. You could say that it is a mental form of a stress ball.
Is a Meditation Jar a Good Way to Begin in Meditation?
If you are having trouble roping your child into consistent meditation sessions, then a meditation jar is a great idea. It will give them a physical element to focus on while you teach them about the practice of meditation.
Remember: As we mentioned above – it is good to have your child imagine the jar to be like their mind. When they are angry or frustrated they can take this jar and shake it up! And by the time the glitter is calm and settled, so will their mind.
When you and your child first use your meditation jars and you explain this you can also teach them about mindfulness meditation. Mindfulness is all about being fully present in the current moment and allows you to reflect and react calmly even when your surroundings are seemingly chaotic.
In practice, it involves acknowledging thoughts as they occur and then releasing them. Which means to not react to the thought and simply allow and accept reality.
Mindfulness is also a big part of your fundamentals for beginners in meditation.
Enjoy Your Jar!
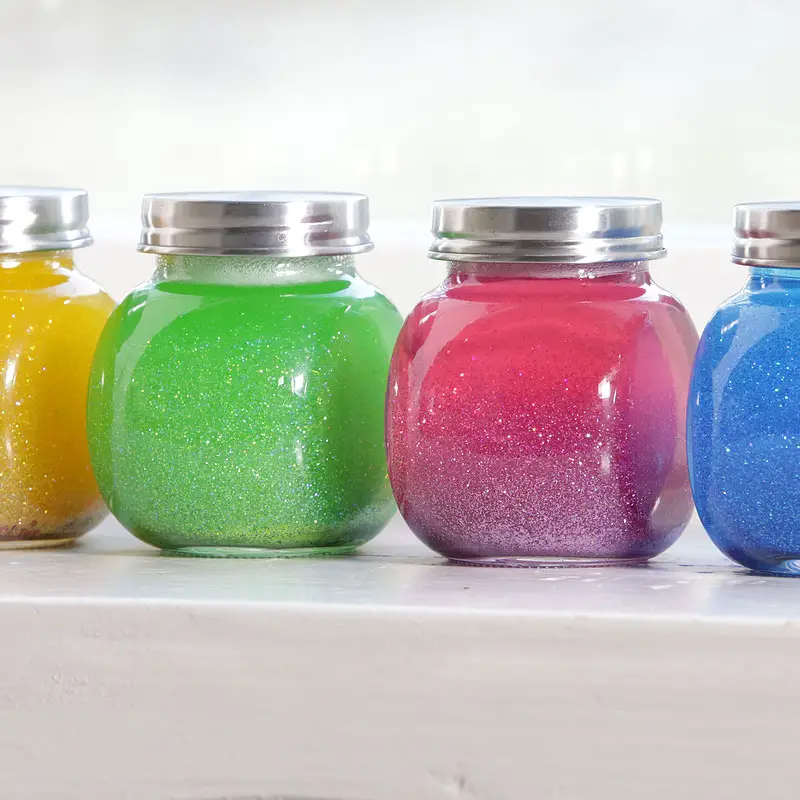
With your new DIY Meditation Jar we hope that you enjoy the process as much as the result! With all the items on the list, you will want everything to create the full experience. Also, having multiple types of glitter creates a different effect as they fall at different speeds.
Most of the items are fairly easy to acquire around the house. The remaining items are pretty budget-friendly to be able to tackle the whole list in one go! Enjoy your new meditation jar!
